
For those of us who are handy around the house, learning how to build a roof or how to make a roof can be a great way to save some money. While it’s certainly not the easiest task, with a little bit of know-how, it’s definitely doable (although, it’s always best to contact a roofing professional).
Warning: Roofing is Risky & Dangerous! MY PITTSBURGH ROOFING says: Safety First!
Plan Well
The very first step in ensuring a safe roof replacement is mapping out your plan. By taking the time to map out your roof replacement, rebuild or repair, you’ll be able to identify any potential hazards and create a safe work environment. This will help you avoid any accidents or injuries during the roof replacement process.
To get started, take a look at your roof and make a note of any areas that may be difficult to access. Then, create a plan of action that will allow you to replace your roof safely and efficiently.
By following these simple steps, you can ensure a safe and successful roof replacement.
Organization is Key
When it comes to safety, there is no such thing as being too organized. This is especially true when you’re undertaking a large project like putting on a new roof. By taking some time to plan and prepare ahead of time, you can stay safe and avoid any potential accidents.
Don’t Break Your Back (or neck!) | Roof Safety Harnesses ARE REQUIRED!
Working on a roof can be dangerous, and one of the most common dangers is falling off the roof. Therefore it’s so important to take precautions when working on a roof, and one of the best ways to do this is to use a safety harnessed specifically for roof work.
A roof safety harness is a very important piece of safety equipment for anyone who works on or around roofs. Stay safe and buy one. It just may prevent you from death or being critically injured.
There are a few things to keep in mind when choosing a roof safety harness.
- Make sure that the harness fits you properly. It should be snug but not too tight, and it should allow you to move freely.
- Second, make sure that the harness is rated for roof work.
- Third, check the harness for any damage before each use.
- Lastly, always follow the manufacturer’s instructions for proper use.
Understand Ladder Safety (we mean it!)
Ladder safety includes understanding the ladder sizes you need. You actually need 2 types of ladders.
Extension Ladder:
To work safely, your extension ladder requires a ratio pitch of 4:1. To understand what this means, you will first need to measure the height of your home or business. For every 4 feet (going up), the ladder needs to be able to move 1 foot out. We know this as the 1’ in 4’ rule in the world of professional roofing.
Extension Ladder Example: Let’s say you must climb 20 feet high. You will need to have an approximate 24-foot-long extension ladder.
Step Ladder
Figuring out the size of the step ladder you need is not as complicated as figuring out the extension ladder size. Reason being – there’s no pitch calculation involved.
Your step ladder will need to get you within 4-feet of your workspace.
Step Ladder Example: Let’s say you need to get to a gutter that measures 10-feet from the ground. The topmost safe tread of the step ladder will need to be 6-feet off the ground.
Ladders can be dangerous if you don’t use them properly. Here are some tips for ladder safety when working on a roof:
- Make sure the ladder is firmly attached to the roof before you climb it.
- Never stand on the very top rung of the ladder.
- Don’t lean too far to one side when climbing the ladder.
- Keep your body centered between the rails of the ladder.
- Don’t try to carry too much up the ladder with you.
- Use ladder stabilizers to keep the ladder from slipping.
By following these tips above, you can help to prevent accidents and stay safe while working on your roof.
Wear Protective Gear
Whether you’re a professional roofer or a do-it-yourselfer, it’s important to wear the right clothes and gear when working on a roof. This includes:
- Hard Hat
- Roofing Gloves
- Boots with Good Traction
- Eye Protection
Of course, you’ll also want to wear clothes that are comfortable and won’t get in your way while you’re working. But most importantly, they should be sturdy and protective. Roofing can be a dangerous job, so it’s important to take all the necessary safety precautions.
Never Work on a Roof Alone
If you’re planning on working on a roof, it’s important to never do so alone. Not only is it dangerous to be up high without someone else around, but you also increase your chances of slipping and falling.
Thoroughly Read OSHA’s Publication “Protecting Roofing Workers”
Roofing workers or DIYers are exposed to a variety of potential hazards while working, which is why the Occupational Safety and Health Administration (OSHA) has created specific regulations to protect them.
OSHA’s “Protecting Roofing Workers” campaign provides information and resources to help keep roofing workers safe on the job. For more information, visit OSHA’s “Protecting Roofing Workers” campaign page.
The ABCs of Roof Construction
Building a roof is a complex process that requires a variety of materials and the skills of a professional roofer. Each roofing job is unique, so there’s a lot of things to consider.
Your local hardware store is a great place to start your search. You’ll likely find a wide variety of options available, making it easy to find the right materials for your needs. Plus, the staff at your hardware store can be a valuable resource in helping you select the right materials for your project.
Basic Materials & Equipment Needed
Although this list may vary depending on the roofing material you choose, we’ve put together a broad list of the common materials needed across the board so you can get a better understanding of the typical tools needed for a successful outcome.
- Adhesive for the Roof
- Air Compressor
- Air Hose
- Aviation Snips (for roof flashings and chimney flashings)
- Caulk Gun
- Chalk to Draw Lines With
- Drill/Driver
- Extension Ladder
- Roll-Off Dumpster
- Felt Underlayment
- Flashing for the Vents
- Framing Square
- Hammer Tacker
- Hand Seamer (for metal roofing)
- Hook Blades
- Metal Shears (for metal roofing)
- Paint Brush & Roller
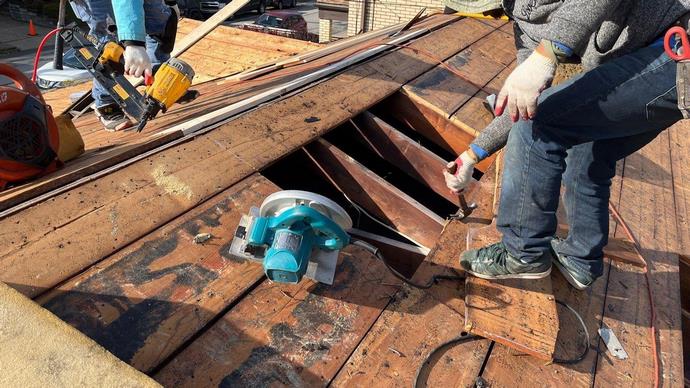
- Power Nailer
- Pry Bars
- Roofing Cement
- Roofing Hatchet
- Roofing Material (Asphalt, Metal, Tile, etc…)
- Roofing Nails
- Roof Safety Harness
- Saws (Circular)
- Scaffolding
- Sealant
- Shovel Made Specifically for the Roof
- Stapler & Staples
- Step Ladder
- Tin Snips
- Utility Knife
- Valley Flashing
- Waterproof Underlayment (Self-Adhesive)
- And many other miscellaneous tools and specialty equipment
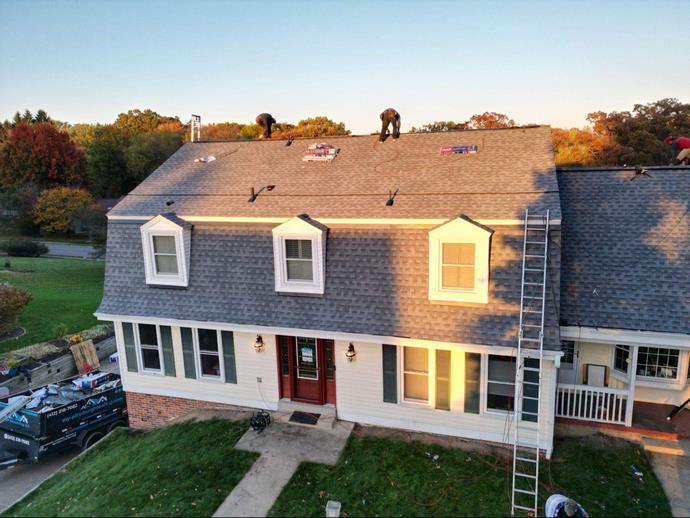
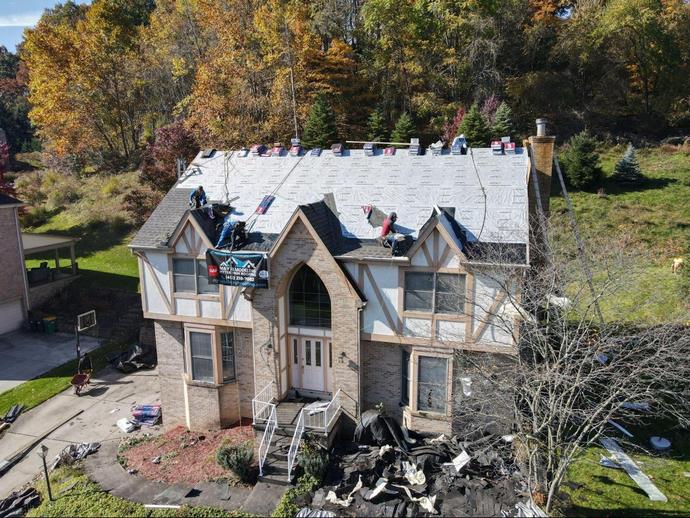
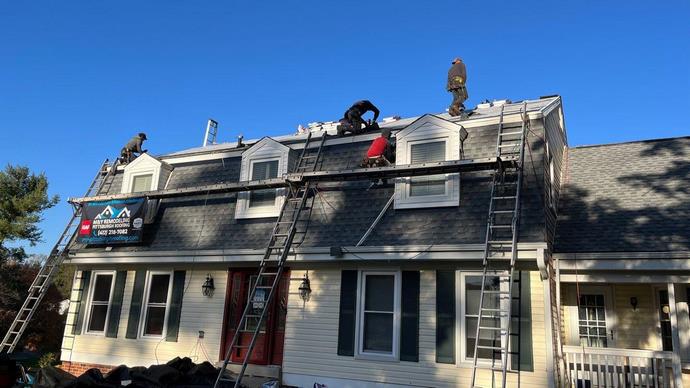
The process of constructing a new roof can feel daunting, but with a little bit of planning and the right team in place, it can be a smooth process (for professionals that is).
It’s never recommended to DIY your own roof repair, build, or replacement. If you are not a professional, you’ll understand why after you review this comprehensive guide. It’s A LOT!
Even though it’s not typical to do-it-yourself, we still get questions about it all the time: “How build roof by myself?!”
So, here’s the step-by-step of building a new roof:
Get the Right Permits

It’s no doubt that a lot of DIY roofers do not realize the permit rules that may or may not be involved with building a roof. It may seem like a hassle, but it’s important to make sure you follow the proper procedures. By doing so, you can avoid any potential problems down the road.
The permit steps are as follows:
- Check with your local building department to see if a permit is required.
- If a permit is required, submit an application to your local building department.
- Once your application is approved, you’ll need to pay the permit fee.
- Once the fee is paid, you’ll be able to pick up your permit.
- Finally, make sure to follow all the requirements specified on your permit.
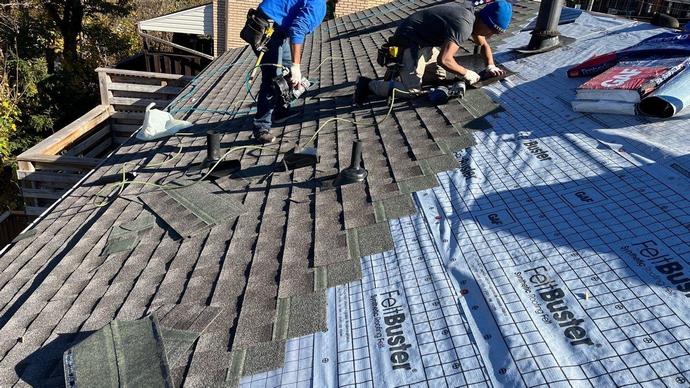
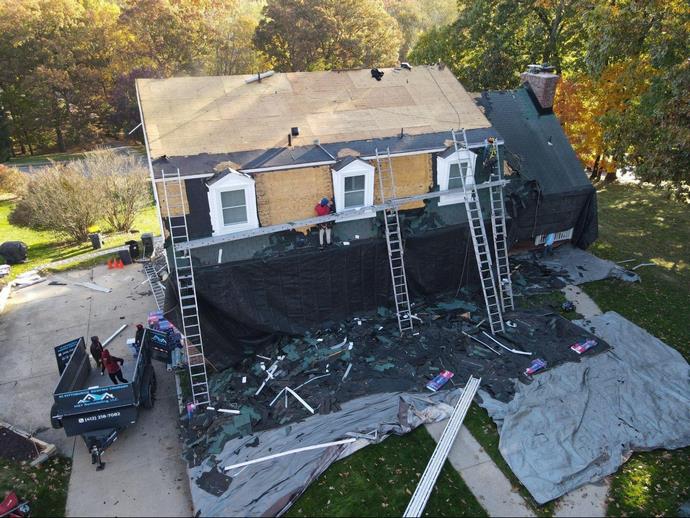
Get Rid of Old Shingles & Felt Paper
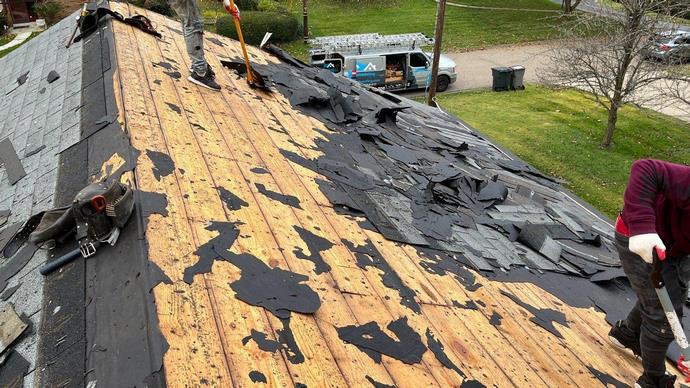
It’s important to remove the old shingles and felt paper (or metal roof) before installing the new roof. This will ensure that your new roof is properly installed and will last for many years to come.
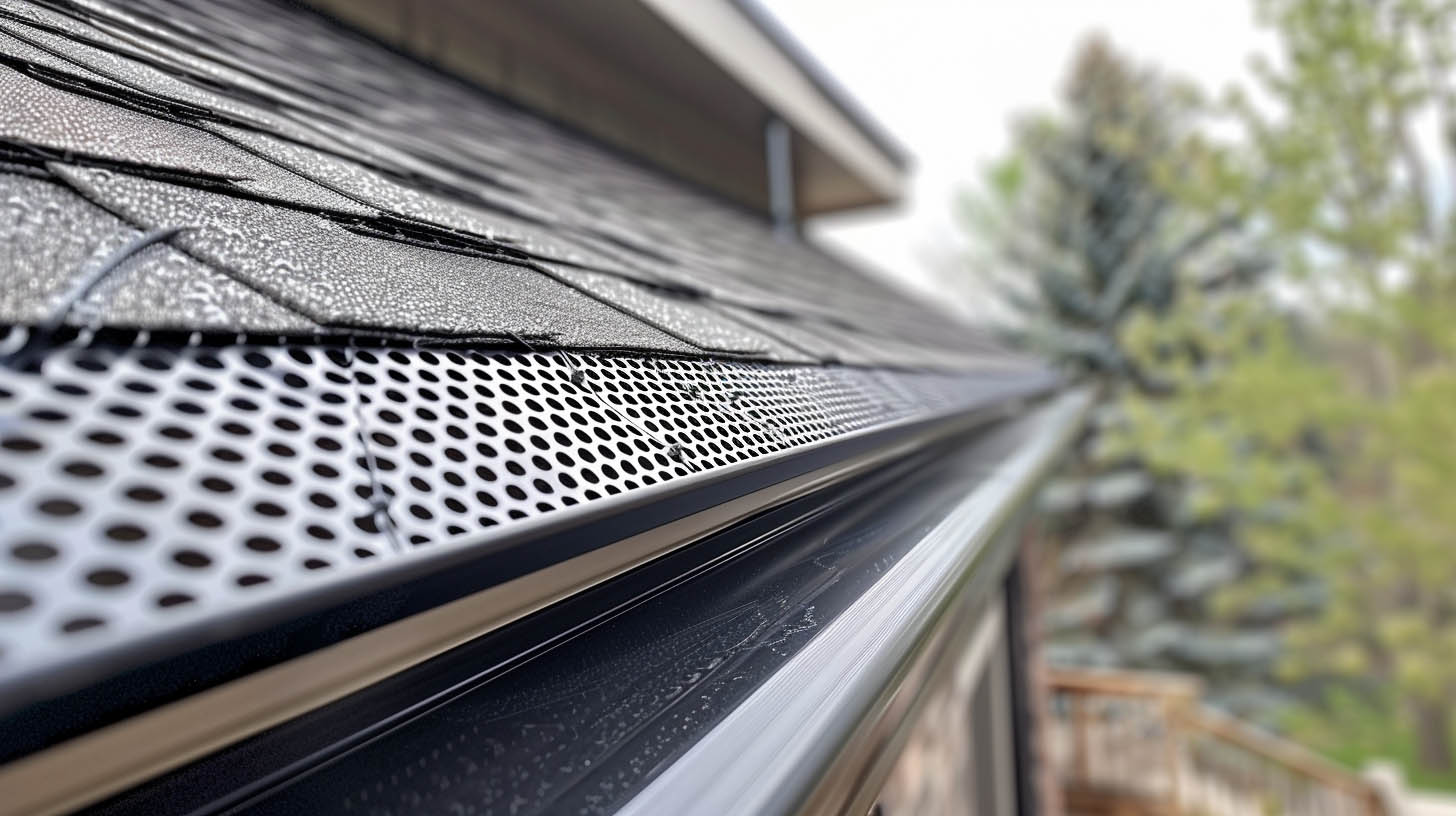
Drip Edge Installation
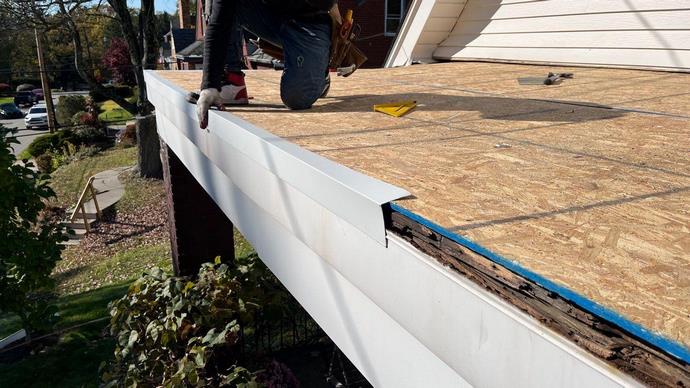
Drip edge is a metal strip that helps to keep water from seeping under your shingles and causing damage to your roof or home. You’ll need to nail the drip edge to the fascia board.
Felt Paper Installation
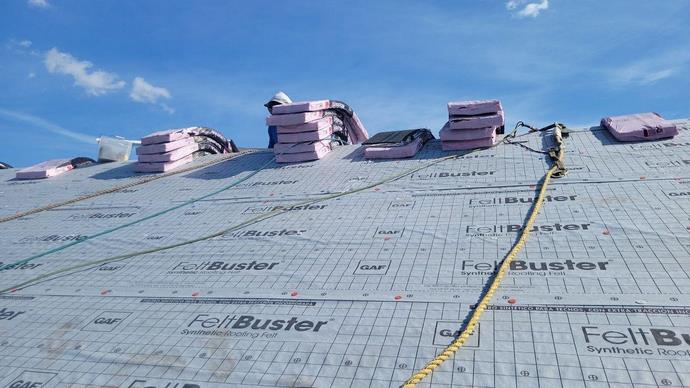
Begin by removing any old felt paper or other debris from the roof surface. Yes, we still call it a “felt paper” but it’s a synthetic underlayment. It’s a much sturdier and more durable underlayment that most of the roofing contractor uses with the roof replacement projects.
Use Ice Protection Underlayment
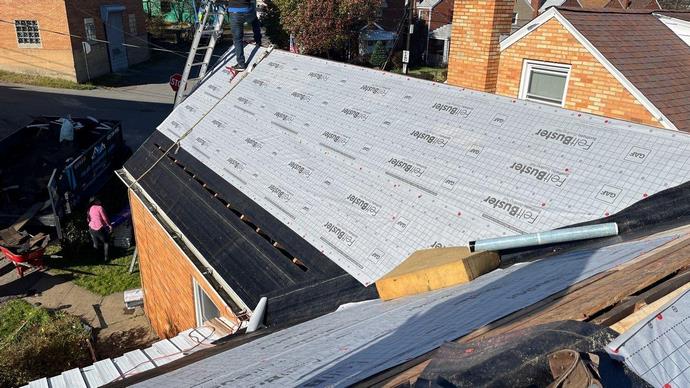
Using an ice and water shield is crucial. This type of product is designed to protect your roof from water damage, as well as ice dams.
Installing an ice and water shield is not a difficult task, but it is important to follow the manufacturer’s instructions carefully. In most cases, you’ll need to apply the underlayment to the roof deck, starting at the eaves and working your way up. It’s also important to make sure that the underlayment is properly sealed around all openings, such as skylights and chimneys.
You may need to speak with a roof professional roofing contractor to determine if this is necessary in your specific region.
Shingle Install
If you’ve decided to go with shingles (verses metal), you’ll need to mark the starter strip location by measuring 11-3/4 inches up from the very edge of the drip edge and snapping a line of chalk from end-to-end. You’ll then want to follow the below steps:
- To install the starter shingle strip, you will need the actual starter strip shingles but not the old way, 3-tab shingles installed upside-down.
- The second shingle strip should now be installed by overlapping the starter strip. It’s important to cut 6 inches off the first shingle, offsetting the row underneath.
- Complete each and every shingle row by moving upward towards the ridge (but not past it!). If you need to, it’s okay to cut the shingles to fit.
- Follow all the above to get the other side of the roof completed. From there you will want to create a roof ridge by using cut off tabs from before.
The Best Way to Build a Roof
The best way to build a roof is not to do it yourself! This is a lot of work for someone who is not expertly trained. We find that when non-professionals try to DIY roof work of any kind, questions will always pop up – regardless of how comprehensive our guides are. Contact us now at MY PITTSBURGH ROOFING for a free consultation.