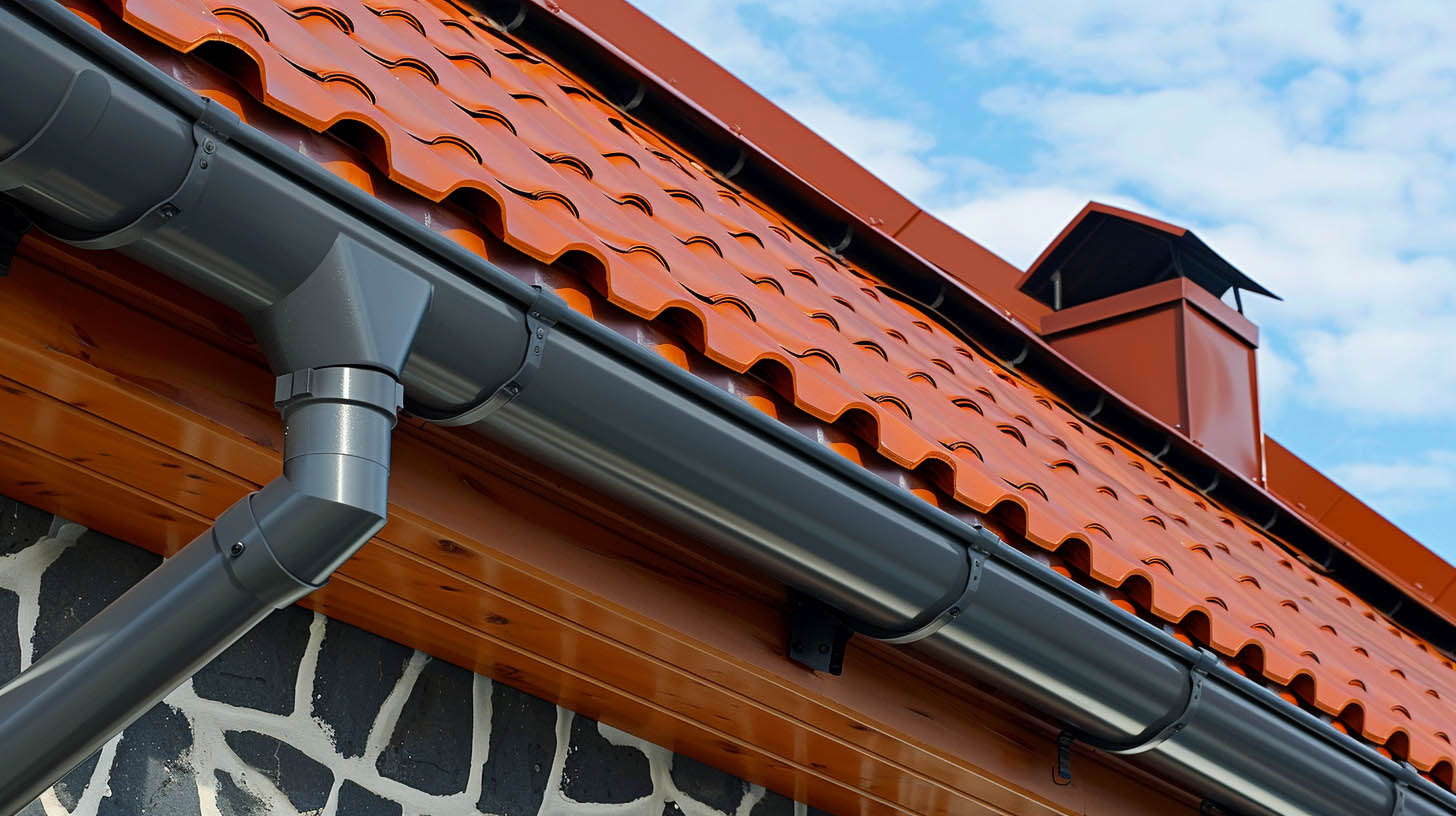
Understanding Roof Flashing
Roof flashing is a thin, waterproof material designed to seal gaps at intersections on the roof, preventing leaks. Common materials include galvanized steel or copper, chosen for their durability and resistance to rust.Key Roof Flashing Varieties
- Base Flashing: Ensures a waterproof barrier at the joint between the roof and vertical structures.
- Step Flashing: Shaped like an L, it fits between shingles and the wall to block water.
- Counter Flashing: Overlaps step flashing, offering added protection against water ingress.
- Vent Pipe Flashing: Seals around roof pipes, preventing water entry.
- Valley Flashing: Laid in the channels formed at roof slope intersections to guard against water accumulation.
- Drip Edge Flashing: Installed along roof edges, directing water away from the fascia.
- Cap Flashing: Used on parapet walls to shield the top edge of the wall-roof intersection.
Essential Tools and Materials
- Flashing Material: Choose based on compatibility with your roofing material. Ensure it’s durable and rust-resistant.
- Roofing Sealant: A high-quality sealant forms a watertight barrier.
- Tape Measure, Roofing Nails or Screws, Caulk Gun, and Utility Knife: For precise measurement and secure installation.
- Safety Gear: Gloves and safety glasses are a must.
Preparing the Installation Area
- Inspect the Roof and Wall: Look for damages like cracks or leaks.
- Clean the Surfaces: A clean surface ensures better adhesion and sealing.
- Mark the Flashing Location: Use a tape measure for accurate placement.
Installation Steps
1. Base Flashing Installation
Measure and cut the base flashing to fit. Apply roofing sealant to the wall and flashing back for a watertight seal. Secure it with roofing nails or screws without over-tightening.2. Step Flashing Installation
Measure, cut, and fold the step flashing into an L shape. Ensure each piece overlaps for continuous protection. Secure with nails or screws.3. Counter Flashing Installation
Measure and cut counter flashing to cover step flashing. Bend it to fit the wall profile and apply sealant for enhanced water resistance. Install it over step flashing for added protection.Finishing Touches
- Inspect the Installation: Check for any gaps or signs of leaks.
- Apply Additional Sealant: Reinforce seams and joints with extra sealant.
- Clean Up: Remove any debris or leftover materials.


