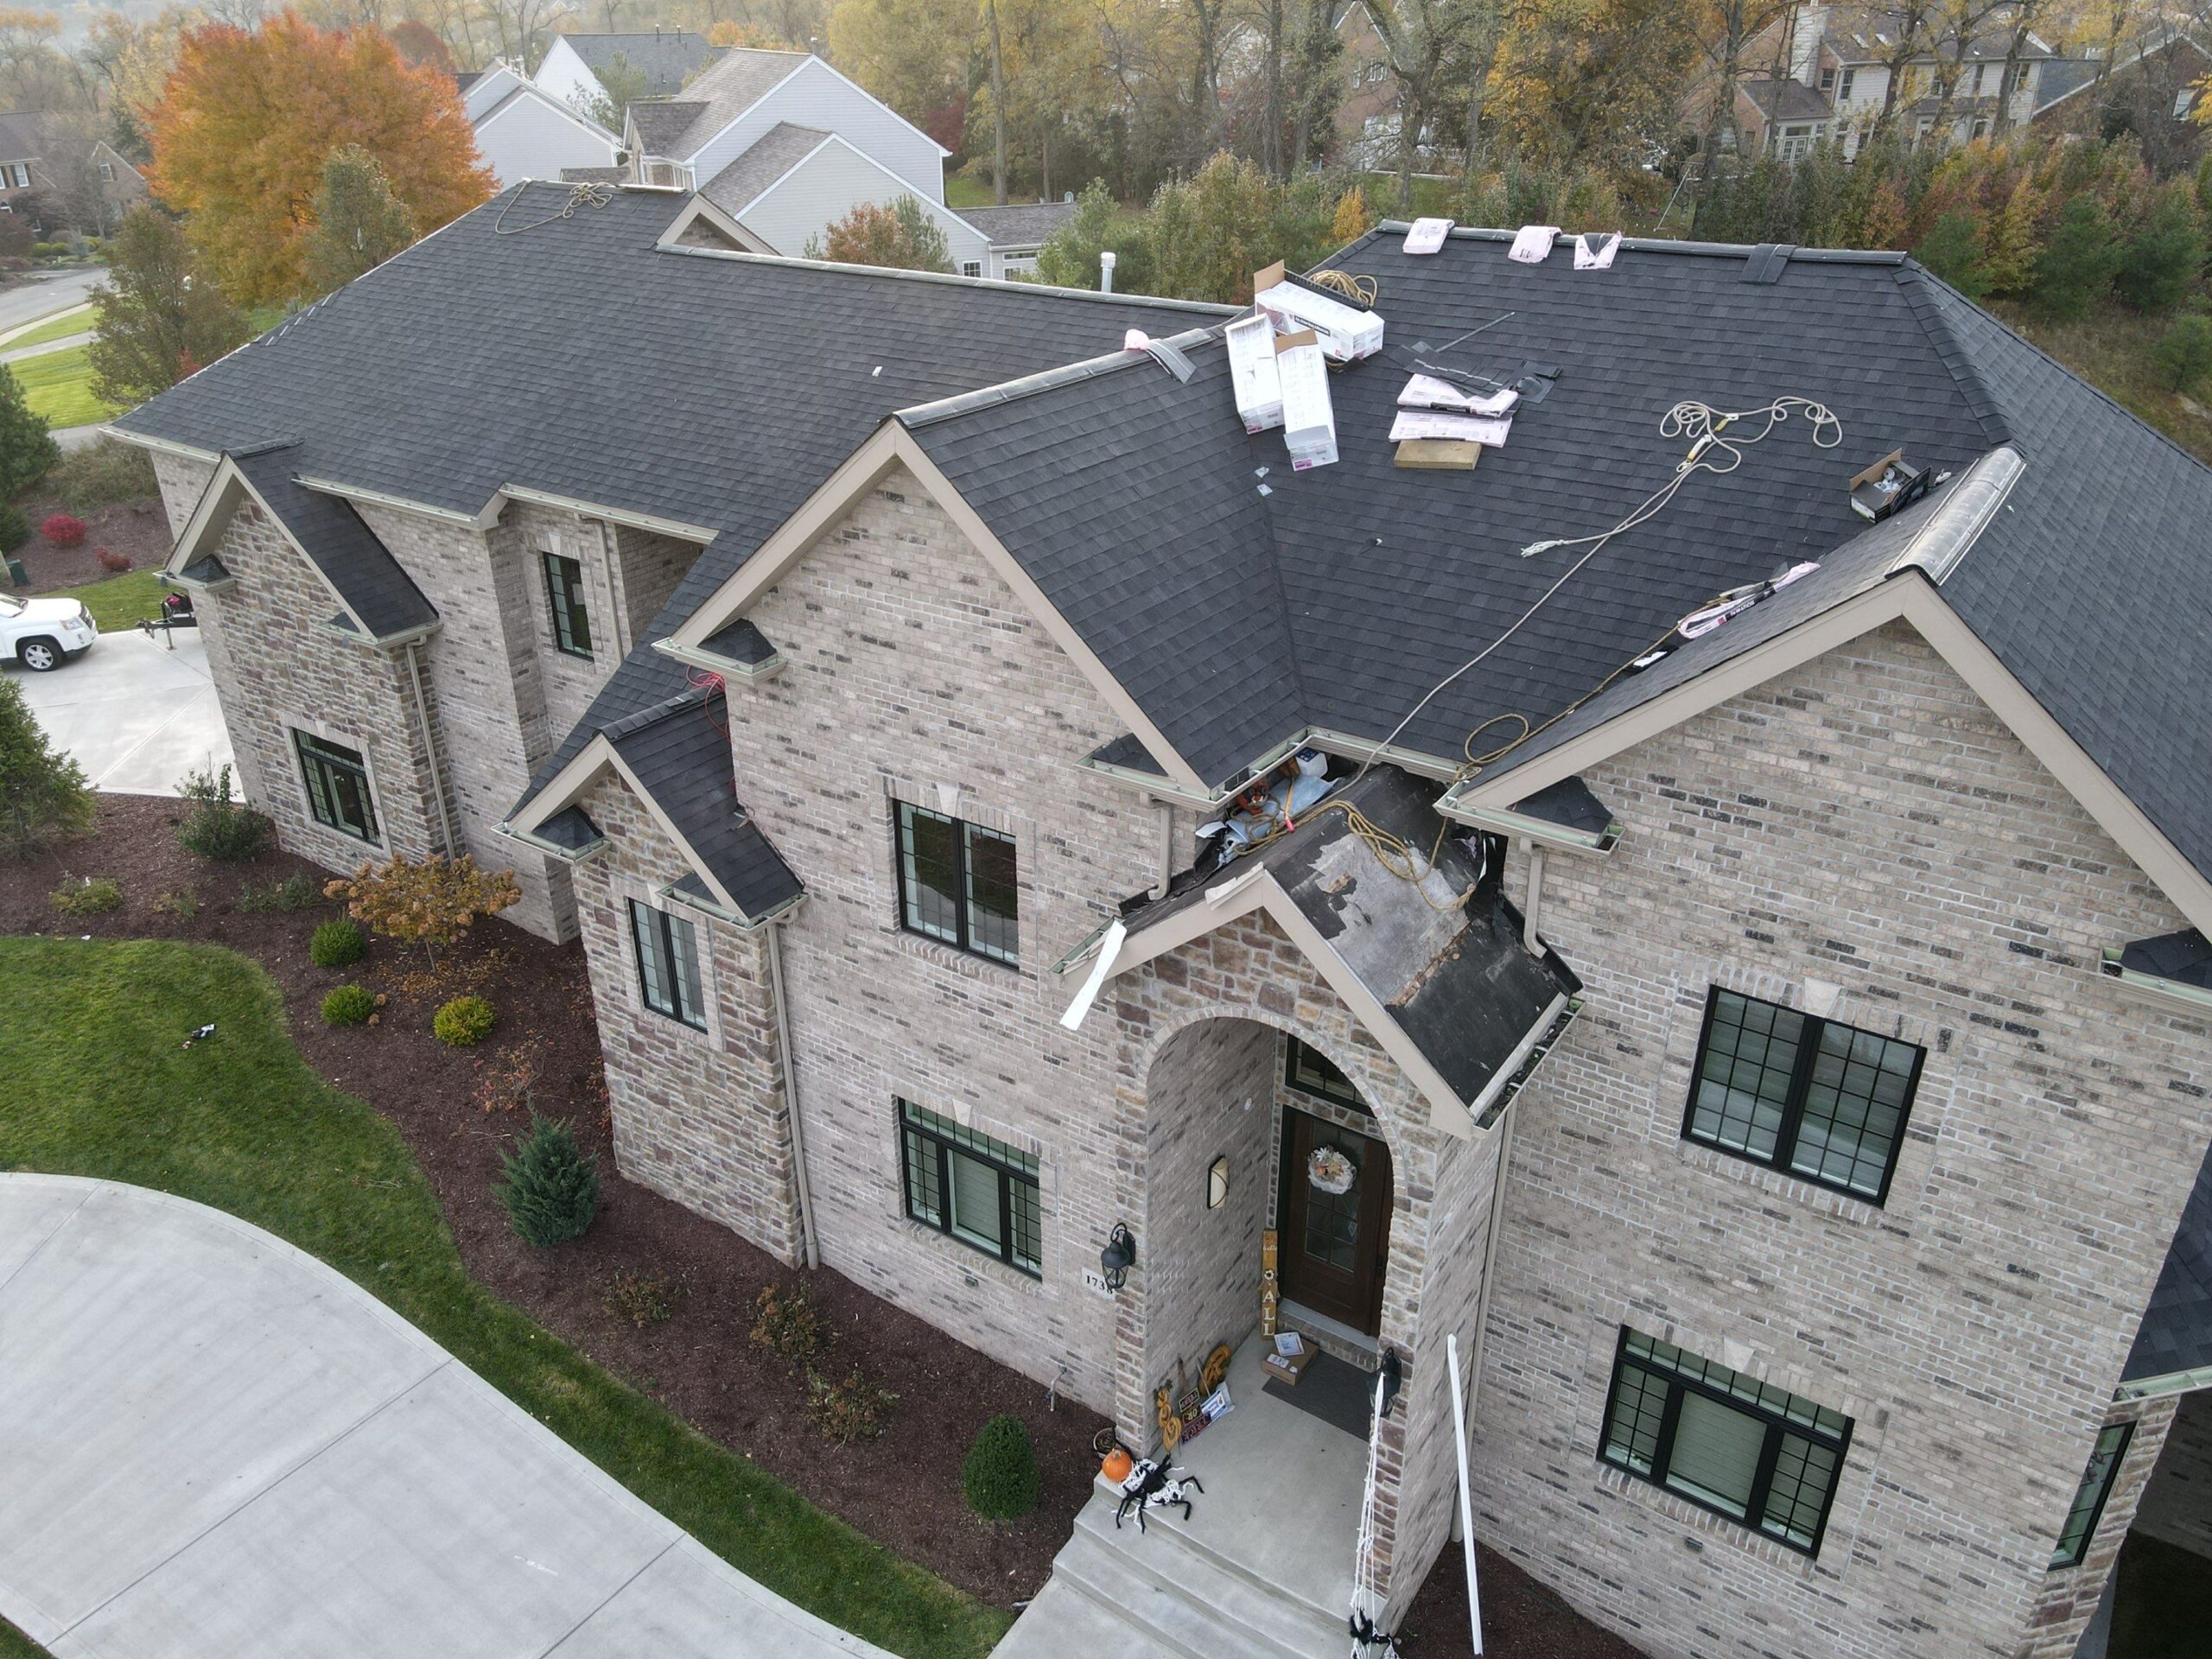
Ever wondered about the nitty-gritty of transferring your roof warranty hassle-free? You are not alone! In this guide, we will walk you through the ins and outs of making the process smooth as silk, with insights from an experienced roofing specialist. Buckle up because we are about to unlock the secrets to a stress-free roof warranty transfers.
Understanding Roof Warranties

Roof warranties come in different shapes and sizes, but they all share a common goal: protecting your investment. From material warranties to workmanship guarantees, understanding the terms and conditions is crucial.
Needless to say, understanding the type of warranty your roof has is crucial for proper maintenance and knowing what is covered in case issues arise. Always review the warranty documents carefully and consult with your roofing professional if you have any questions about the coverage provided.
In the meantime, check out the following types of warranties:
- Manufacturer’s Material Warranty
- Workmanship Warranty
- System Warranty
- Prorated Warranty
- No-Dollar-Limit (NDL) Warranty
- Wind Warranty
- Hail Warranty
- Extended/Transferable Warranty
Roof Warranty Transfers Explained
A roof warranty transfer is a process that allows the benefits and coverage of an existing roof warranty to be transferred from the original homeowner (or the one who had the roof installed) to a new homeowner when the property is sold or ownership changes. This transfer ensures that the new owner inherits the protection and guarantees outlined in the original roof warranty, providing a continued assurance of coverage against certain defects or issues with the roofing system.
Here are the key points regarding a roof warranty transfer:
Change in Ownership
A roof warranty transfer is triggered by a change in property ownership. It commonly occurs when a house is sold, and the new owner wants to assume the warranty coverage provided by the roofing manufacturer or contractor.
Transferable Warranties
Not all roof warranties are transferable. The transferability of a warranty depends on the terms set by the roofing manufacturer or contractor. Some warranties explicitly state that they are transferable, while others may have specific conditions or limitations.
Transfer Process
The process typically involves submitting a formal request to the roofing manufacturer or contractor for the transfer of the warranty. This request may include filling out a transfer form and providing documentation related to the change in property ownership.
Documentation Requirements
Commonly, documentation such as the original warranty documents, proof of the property transfer, and any other information requested by the warranty issuer is required to complete the transfer.
Approval and Fees
The warranty provider reviews the transfer request and supporting documents. If approved, the new homeowner may need to pay a transfer fee, if applicable. The fee, if required, is usually specified in the warranty terms.
Duration and Conditions
The transferred warranty typically maintains the remaining duration and conditions outlined in the original warranty. It continues to cover defects, workmanship issues, or other specified conditions according to the terms of the original warranty.
Post-Transfer Responsibilities
The new homeowner is usually responsible for adhering to any maintenance or care guidelines outlined in the warranty to ensure ongoing coverage. Failure to follow these guidelines may impact on the warranty’s validity.
Steps for a
Seamless Transfer
Fill Out Transfer Forms
The transfer forms may look intimidating, but fear not! We will guide you step-by-step through the process. Fill in the blanks with accurate information – honesty is key.
Submit Documentation
Attach all the necessary documents. Double-check to make sure you haven’t missed anything. A comprehensive submission speeds up the approval process.
Understand Any Associated Fees
Some warranties come with transfer fees. It’s essential to know what you might be charged and why. Transparency is crucial for a smooth transfer.
Address Common Challenges
Not everything goes smoothly all the time. Learn about common challenges and how to overcome them. This way, you will be prepared for any bumps in the road.
Follow Guidelines
Warranty terms are like a roadmap. Stick to them, and you will be in good shape. Straying from the path may jeopardize your coverage.
Do Not Cut Corners
Cutting corners can lead to problems. We’ll shed light on the potential issues that may arise if the transfer process isn’t executed correctly.
Stay Within Compliance After Transfer
Securing the transfer is just the beginning. Discover tips on how to keep your roof in top-notch condition and stay within warranty compliance post-transfer.
Post-Transfer Maintenance Tips
As the proud new owner who successfully transferred the roof warranty, your journey doesn’t end there. Ensuring your roof remains in top-notch condition is a responsibility that directly influences the longevity of your warranty coverage.
Stay proactive with the following, and your roof will thank you with lasting durability.
Regular Inspections
Don’t neglect your roof after the transfer. Regular inspections are your best friends for catching issues early and maintaining a healthy roof.
Impact of Neglect on Warranty Coverage
Neglecting your roof can impact your warranty coverage. We’ll explain why staying proactive is essential for a long-lasting warranty.
Seal the Deal
with Confidence

In a nutshell, transferring your roof warranty doesn’t have to be a headache. Armed with the right information and a bit of know-how, you can navigate the process with ease. Remember, a well-maintained roof is a happy roof! So, follow the steps above, and you will be on your way to a worry-free roof warranty transfer.
Take the first step towards compliance when transferring a roof warranty by giving us a call for a free consultation at 412-218-7082.


