One crucial aspect of winter preparation is ensuring your roof is ready to withstand snow, ice, and freezing temperatures. And with falling leaves of autumn being right around the corner, this means that crisp air is definitely on its way. So, homeowners let’s get you ready to prepare your homes for the challenges of the cold season. That’s where winterizing your roof for cold weather comes into play.
Understanding the Importance of Winterizing Your Roof for Cold Weather

Your roof is your home’s first line of defense against winter’s elements. A well-prepared roof not only ensures your family’s warmth and comfort but also prevents costly damage to your property. Here’s why winterizing your roof is crucial:
- Preventing Ice Dams: Ice dams form when snow on your roof melts and re-freezes near the eaves. This can lead to water infiltration, damaging your attic, ceilings, and walls.
- Extending Roof Lifespan: Winter stress, especially from ice and heavy snow, can accelerate roof wear and tear. Proper winterization helps prolong your roof’s lifespan.
- Energy Efficiency: A well-insulated and ventilated roof keeps your home warmer and reduces heating costs during the winter months.
- Safety: Preventing roof damage also ensures safety, as weakened roofs can pose hazards during winter storms.
Before delving into the steps below to winterize your roof effectively, we always recommend contacting a professional for security precautions.
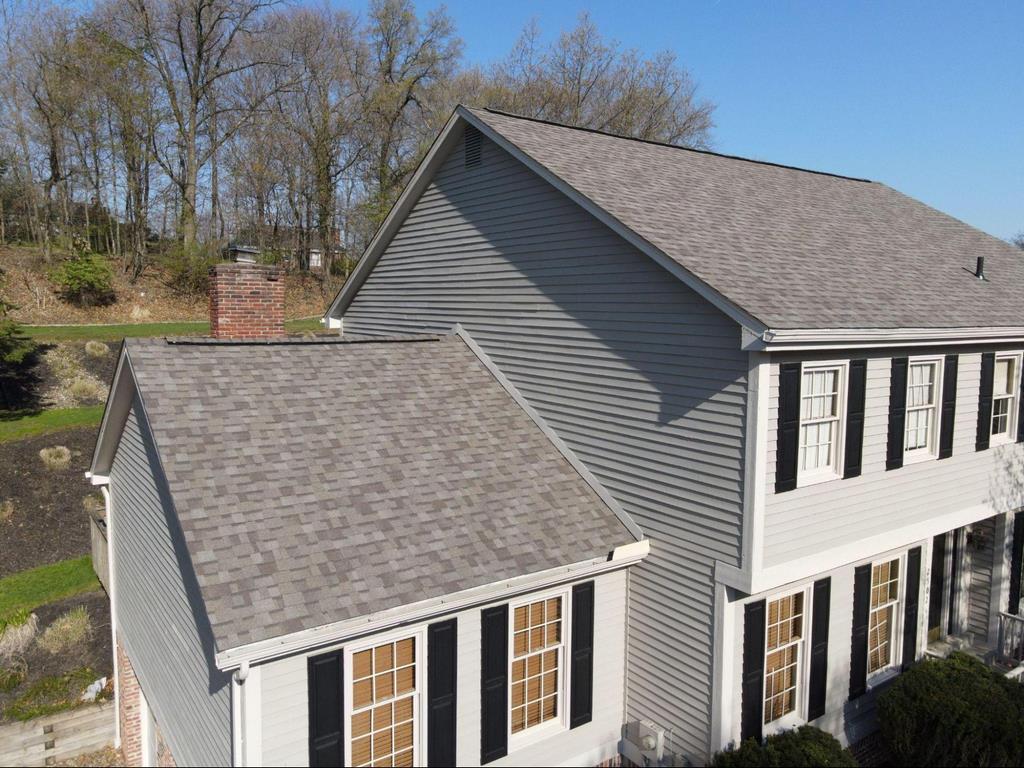
Step 1: Inspect Your Roof Thoroughly
Begin by conducting a detailed roof inspection. If you’re uncomfortable with heights or unsure about roof safety, consider hiring a professional roofing contractor. Here’s what to look for during your inspection:
- Missing or Damaged Shingles: Replace any missing or damaged shingles promptly. Damaged shingles can let moisture penetrate your roof’s structure.
- Cracked Flashing: Check flashing around roof penetrations like chimneys and vents. Cracked or deteriorated flashing can lead to leaks.
- Signs of Wear & Tear: Inspect the overall condition of your roof. Signs of wear, like curling shingles or granule loss, may indicate the need for repairs or replacement.
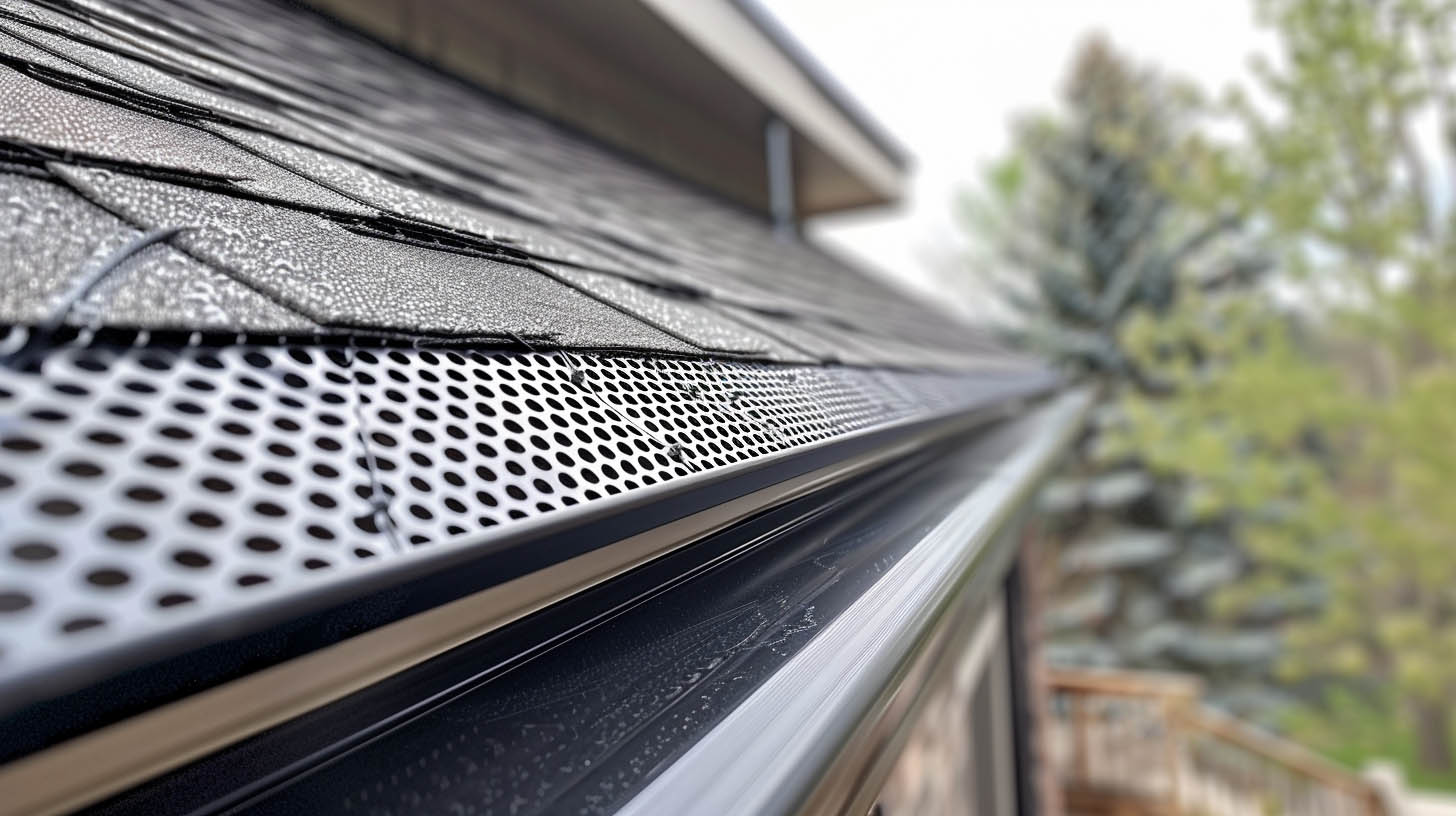
- Gutter and Downspout Condition: Ensure your gutters and downspouts are clear of debris. Clogged gutters can cause ice dams and water infiltration.
Step 2: Address Insulation & Ventilation
Proper insulation and ventilation are critical for maintaining a comfortable indoor temperature and preventing ice dams. Here’s what to consider:
- Attic Insulation: Ensure your attic has adequate insulation. Insulation helps keep your home warmer and prevents heat from escaping through the roof, reducing the risk of ice dam formation.
- Ventilation: Proper attic ventilation helps regulate temperature and moisture levels. It prevents warm air from melting snow on the roof and contributing to ice dams.
Step 3: Clean Your Gutters & Downspouts
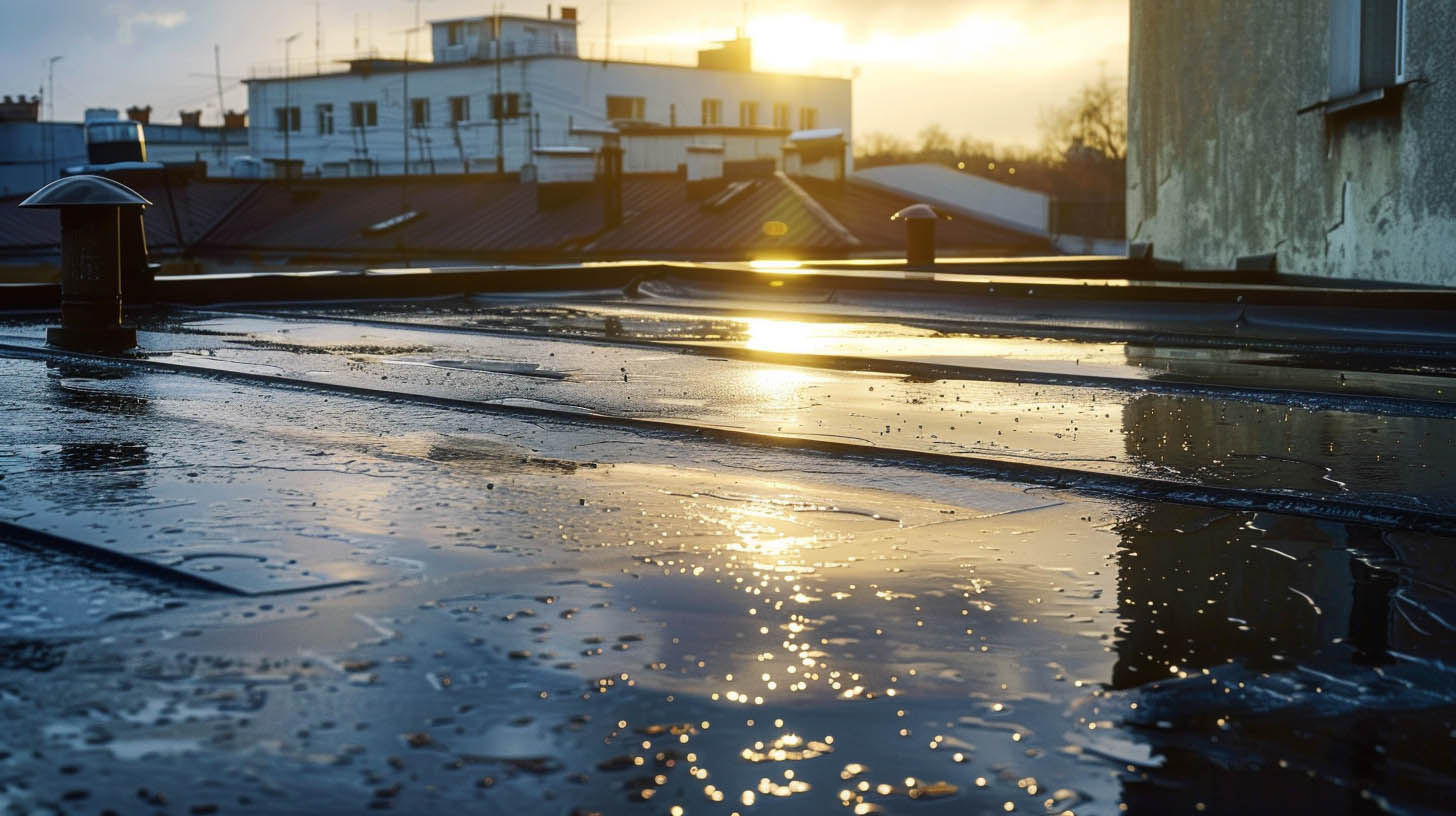
Leaves, twigs, and other debris can accumulate in your gutters and on your roof, blocking proper water drainage. Ensure your gutters are clear and clean and remove debris from your roof’s surface to prevent water from pooling.
Step 4: Install Ice and Water Shield
Consider installing an ice and water shield under your roofing material, especially in regions with heavy snowfall. This self-adhering membrane provides an extra layer of protection against ice dams and leaks.
Step 5: Trim Overhanging Branches
Trim any tree branches that overhang your roof. Heavy snow or ice can cause these branches to break and damage your roof. Trimming them in advance reduces this risk.
Step 6: Check Attic Ventilation
Ensure your attic ventilation is working correctly. Proper ventilation helps maintain consistent temperatures on your roof, preventing ice dams and extending your roof’s lifespan.
Step 7: Professional Inspection and Maintenance
Consider scheduling a professional roof inspection and maintenance service before winter arrives. Experienced roofing contractors can identify potential issues and address them proactively.
Step 8: Emergency Winterization Kit
Prepare an emergency winterization kit, including roofing materials, a roof rake to safely remove snow, and de-icing agents. Having these supplies on hand can help you address unexpected issues during the winter months.
Step 9: Roof Snow Removal
After heavy snowfall, use a roof rake to remove excess snow carefully. Start from the edge and work your way up to avoid damaging your shingles. This helps prevent the formation of ice dams.
Step 10: Monitor Your Roof Throughout Winter
Stay vigilant throughout the winter season. Periodically check for signs of ice dams, water infiltration, or any damage caused by snow and ice buildup. Address any issues promptly to prevent further damage.
Ensure a Cozy & Damage-Free Winter

Winterizing your roof is a vital step in ensuring your home remains safe, comfortable, and damage-free during the cold months. Don’t wait until the first snowfall; start your winter roof preparation today by contacting a professional. They will follow comprehensive steps and help you stay proactive so you can protect your roof from ice dams, extend its lifespan, and keep your home warm and cozy throughout the winter season.
In the meantime, check out our tips for a watertight roof or schedule a free consultation with MY PITTSBURGH ROOFING to ensure a winter without roof problems! 412-218-7082.